In this blog post we will learn how to make use of helm and argocd to deploy helm charts using git ops.
The overall flow will be as illustrated below.
Link for the project files can be found here - > Click here Argo with Helm.

First Step: Install ArgoCD in your cluster
The first step is to install argoCD.
We create a namespace and install argoCD using the commands listed below.
kubectl get ns

kubectl create ns argocd
namespace/argocd created

kubectl apply -n argocd -f https://raw.githubusercontent.com/argoproj/argo-cd/stable/manifests/install.yaml
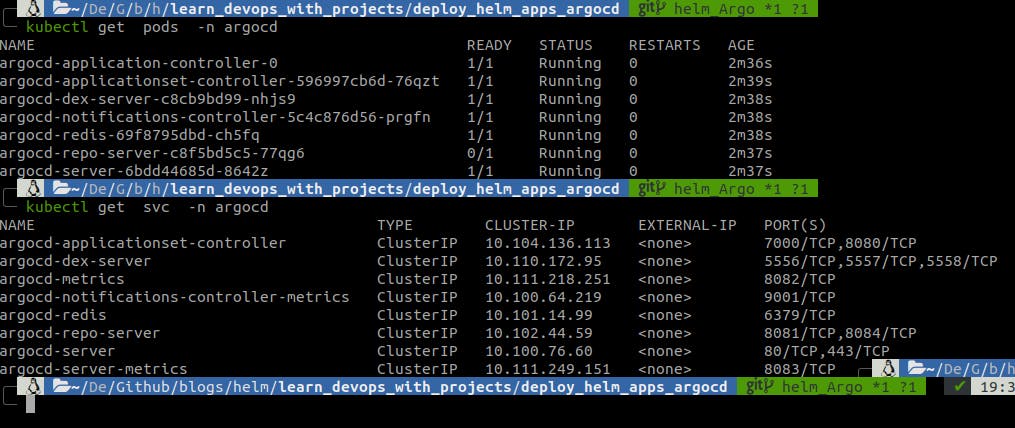
We can list the pods and services present in the argocd namespace to view if all resources are deployed.
kubectl get  pods  -n argocd

kubectl get  svc  -n argocd
Step 2: Login to ArgoCD
The argocd UI takes in a username and password , the initial password is generated using argoCD and stored in a secret.
We pick out the password by decryption of the base64 value.
kubectl get secrets -n argocd

# the secret name is argocd-initial-admin-secret
kubectl get secrets argocd-initial-admin-secret -o yaml  -n argocd

# decrypt the value under the data.password field
echo SWNhZ2tLTUZXVFVOZndpUA== | base64 -d
IcagkKMFWTUNfwiP

# port forward the argocd service which will open up in port 8080
kubectl port-forward svc/argocd-server -n argocd 8080:443

This is the argo UI , the username is admin and password as obtained by the secret.


The password can be updated from the user info tab in the UI.

Step 3 : Creating an ArgoCD app
The next step is to create an Argo app which we will deploy on the cluster.
To create an argo app we can make use of a yaml for this.
apiVersion: argoproj.io/v1alpha1
kind: Application
metadata:
  name: webserver-app
  namespace: argocd
spec:
  project: default
  source:
    repoURL: https://github.com/DiptoChakrabarty/learn_devops_with_projects
    targetRevision: helm_Argo
    path: deploy_helm_apps_argocd/webserver
    helm:
      releaseName: webserver
      valueFiles:
      - values.yaml
  destination:
    namespace: webserver
    server: "https://kubernetes.default.svc"
  syncPolicy:
    automated: {}
The parameters used are as follows.
source: This describes the location to pickup the manifests.
repoURL: Link of the repository where manifests are present.
targetRevision: github branch to consider
path: the location where the manifests are present
helm: tells argocd that this is a helm deployment
releaseName: name of the helm release , argo will manage this
valueFiles: the location of the values file , argo will find this file like this [targetRevision]/[valuesFiles]
destination: where are the resources going to be deployed
synPolicy: how should argo sync when changes are made , automated: {} will ensure that argo syncs with the git repository every few minutes.
Deploy the argocd app using the following command
kubectl apply -f argocd-app.yaml
Head over to the UI and under applications we can view the new application.

Step 4: Installation of the Helm Resources
Click on the app and we can notice the different resources like the deployment , service and ingress being created.

One important step is to make sure the relevant namespaces are present , in my case since it is the webserver namespace we could use a kubectl command or manage this using helm too.
kubectl create ns webserver
View the webserver namespace using the kubectl command
kubectl get all -n webserver

The resources are being created one by one.
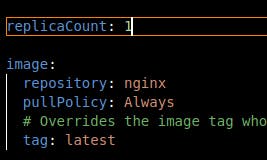
The values file as shown above deploys a nginx image with one replicaCount.

Once the sync is complete we can port forward the webserver service to view our deployment.
kubectl port-forward svc/webserver -n webserver 8005:80

As we can see the nginx image is deployed as a service.

Let us update the helm chart to use httpd image and increase the number of replicas to 2.
Push the changes to git and wait for argo to sync the changes.
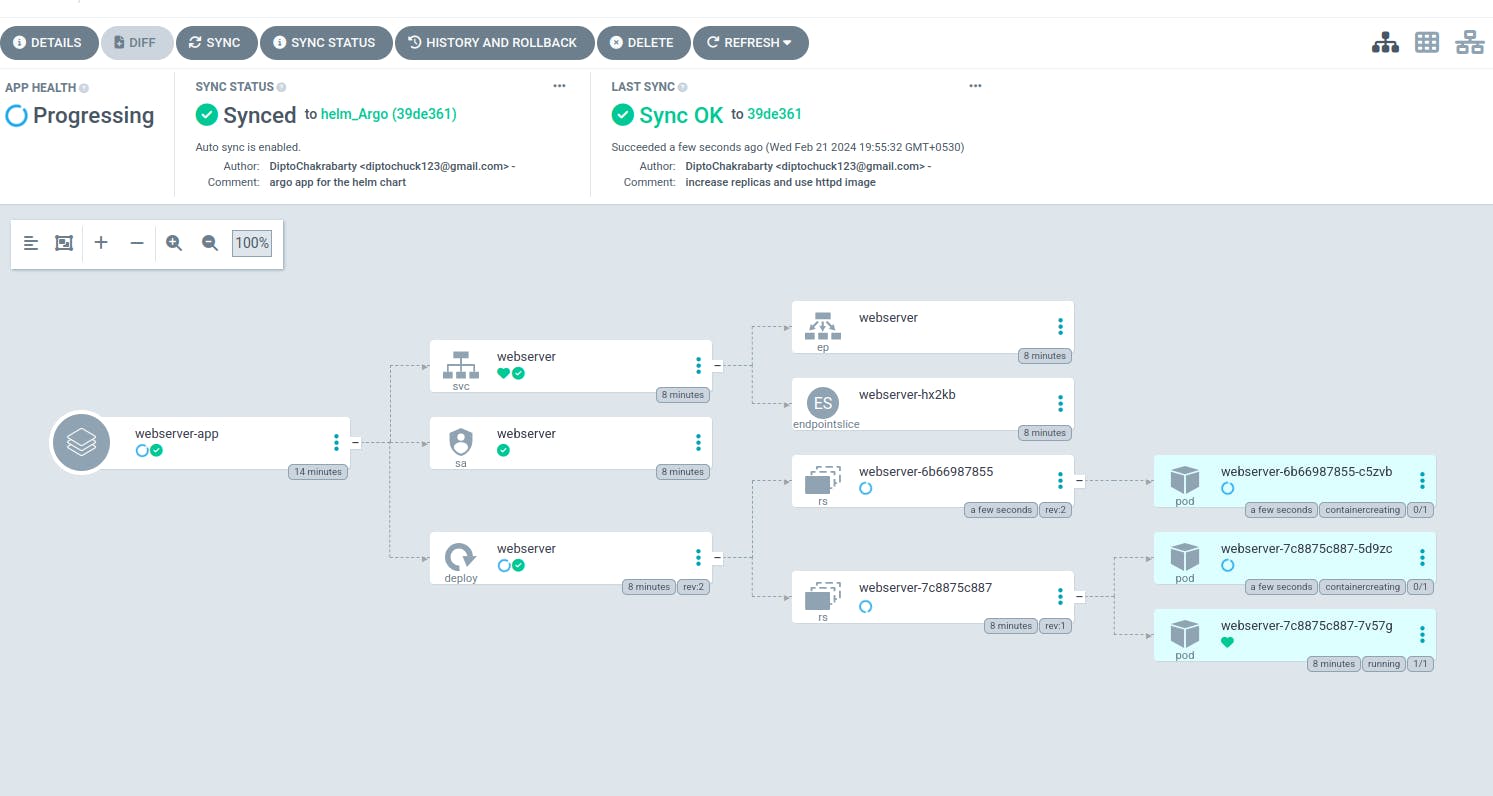
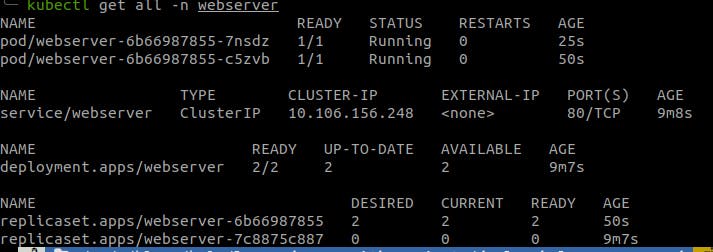
View the changes in the webserver namespace.

Port forward the same webserver service again and view in the browser.
kubectl port-forward svc/webserver -n webserver 8005:80
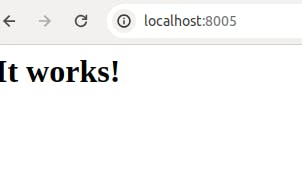
The browser now shows the httpd main webpage.
This is the method to leverage gitops to deploy helm packages in kubernetes clusters using argocd.
If you like this post please like and subscribe to my newsletter.